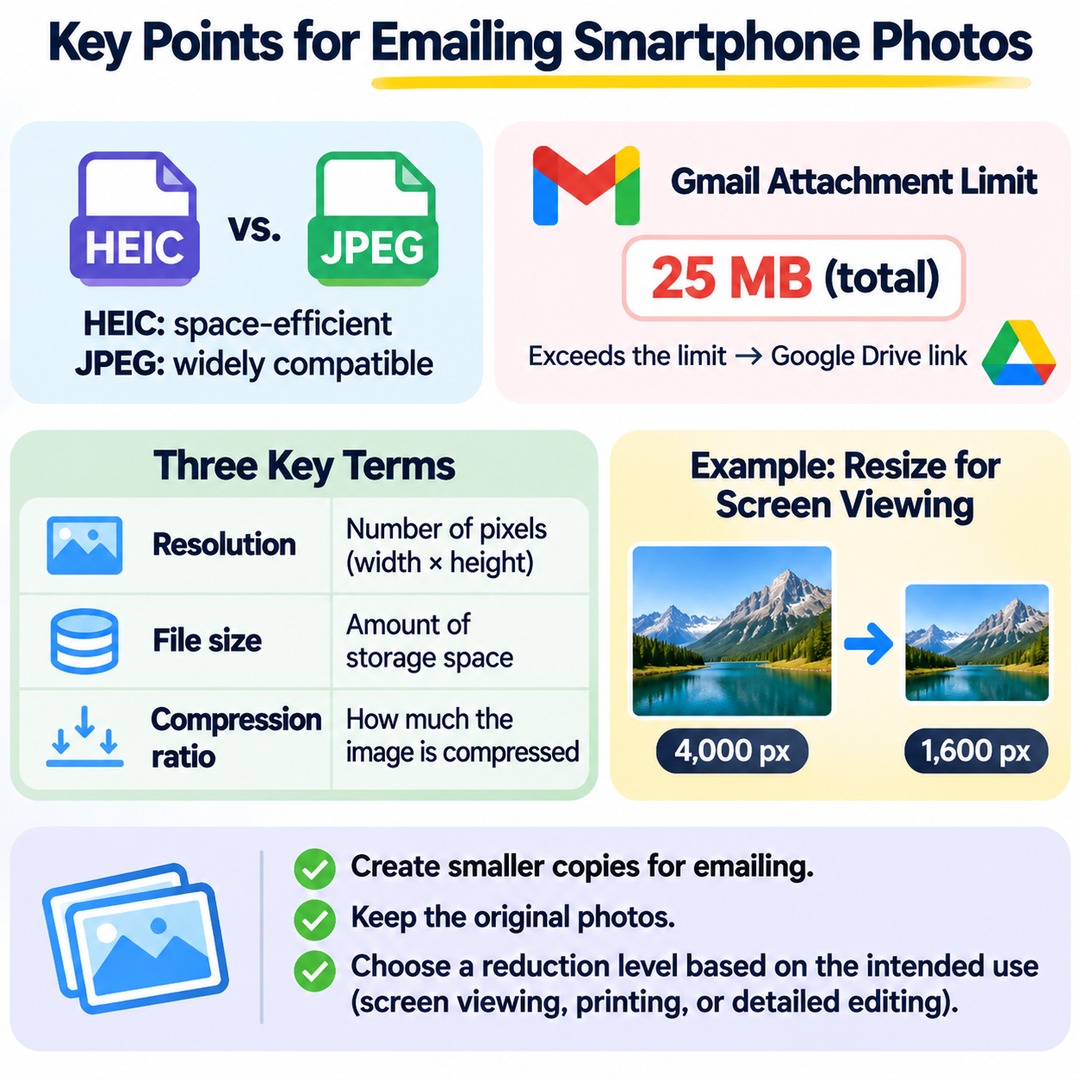

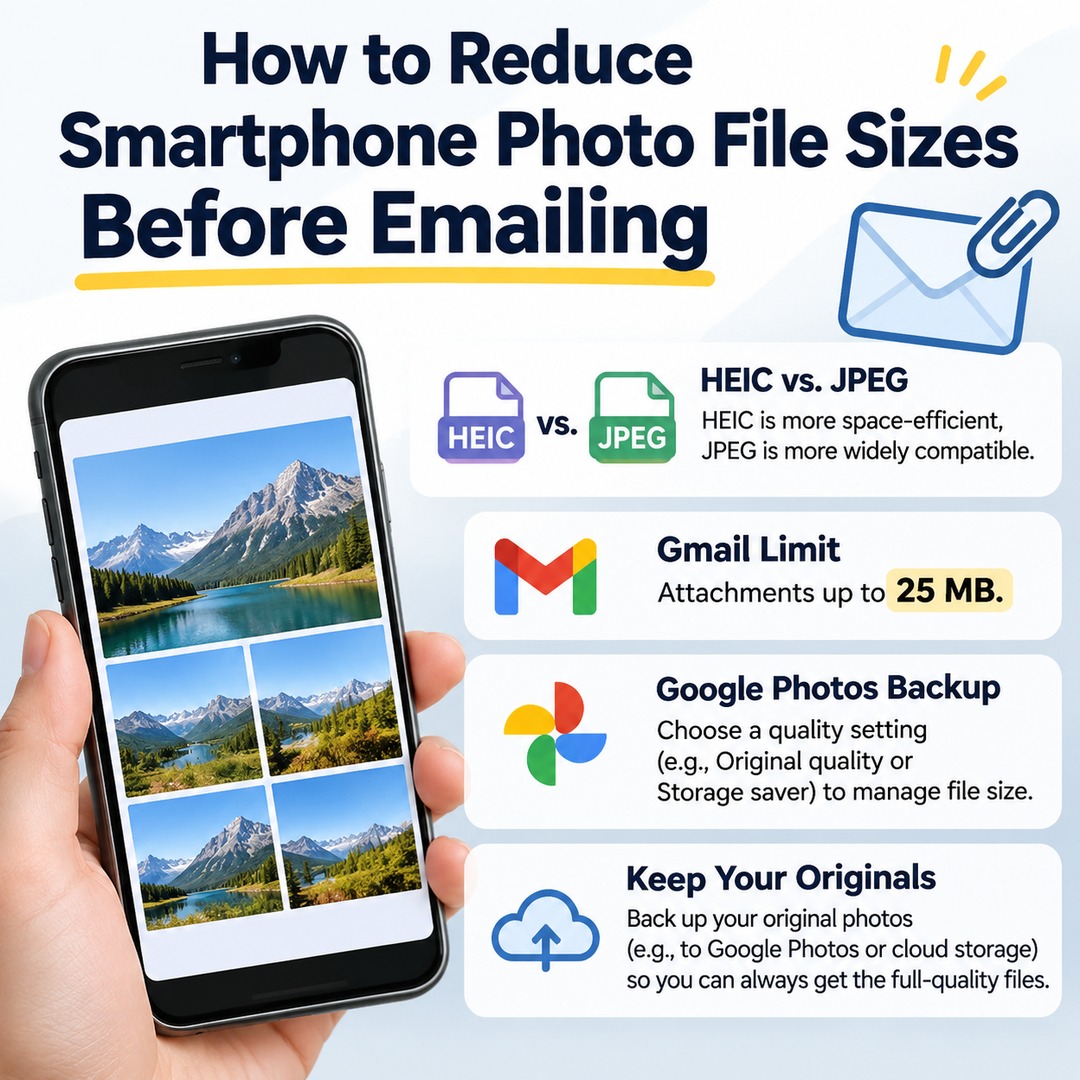
When emailing smartphone photos, the safest approach is to create smaller copies specifically for sending rather than deleting the originals or lowering your camera's image quality. Apple's HEIC format uses storage efficiently, while JPEG offers broader compatibility. Personal Gmail accounts have a 25 MB total attachment limit; when attachments exceed this limit, Gmail switches to Google Drive links. You should therefore consider both photo dimensions and your delivery method.
Reducing file size is not the only consideration when emailing photos. The recipient must be able to open the files without difficulty, and you should preserve the original images for future printing or editing.
What Size Should Photos Be When Sending Them by Email?
For ordinary email viewing, you generally do not need to retain the full original resolution. Photos intended for viewing on a screen have different quality requirements from those intended for printing or detailed enlargement.
When reducing photo sizes, distinguish between these three factors:
Resolution: The number of pixels across the width and height of an image.
File size: The amount of storage space occupied by the photo file.
Compression ratio: The degree to which image data is compressed when saved.
For example, reducing a photo from 4,000 pixels wide to 1,600 pixels wide is often sufficient for viewing on a screen. However, if an image contains small text or detailed documents, reducing its dimensions may make the information difficult to read.
One important point: cutting an image's resolution in half does not necessarily cut its file size in half. The result depends on the image content, file format, and compression settings.
It is best to choose the reduction level according to the intended use.
| Purpose | Recommended approach |
|---|---|
| Everyday and landscape photos | Consider reducing the longer edge to approximately 1,600–2,000 pixels. |
| Workplace and site photos | Preserve enough detail to make text and other information readable. |
| Receipts and contract photos | Retain the original or use high resolution. |
| Photos for printing or editing | Keep a separate copy of the original file. |
| Sending multiple photos | Create smaller copies specifically for sending and manage their combined file size. |
These pixel dimensions are general working guidelines for screen viewing, not mandatory specifications imposed by any particular email service.
What Is the Difference Between HEIC and JPEG?
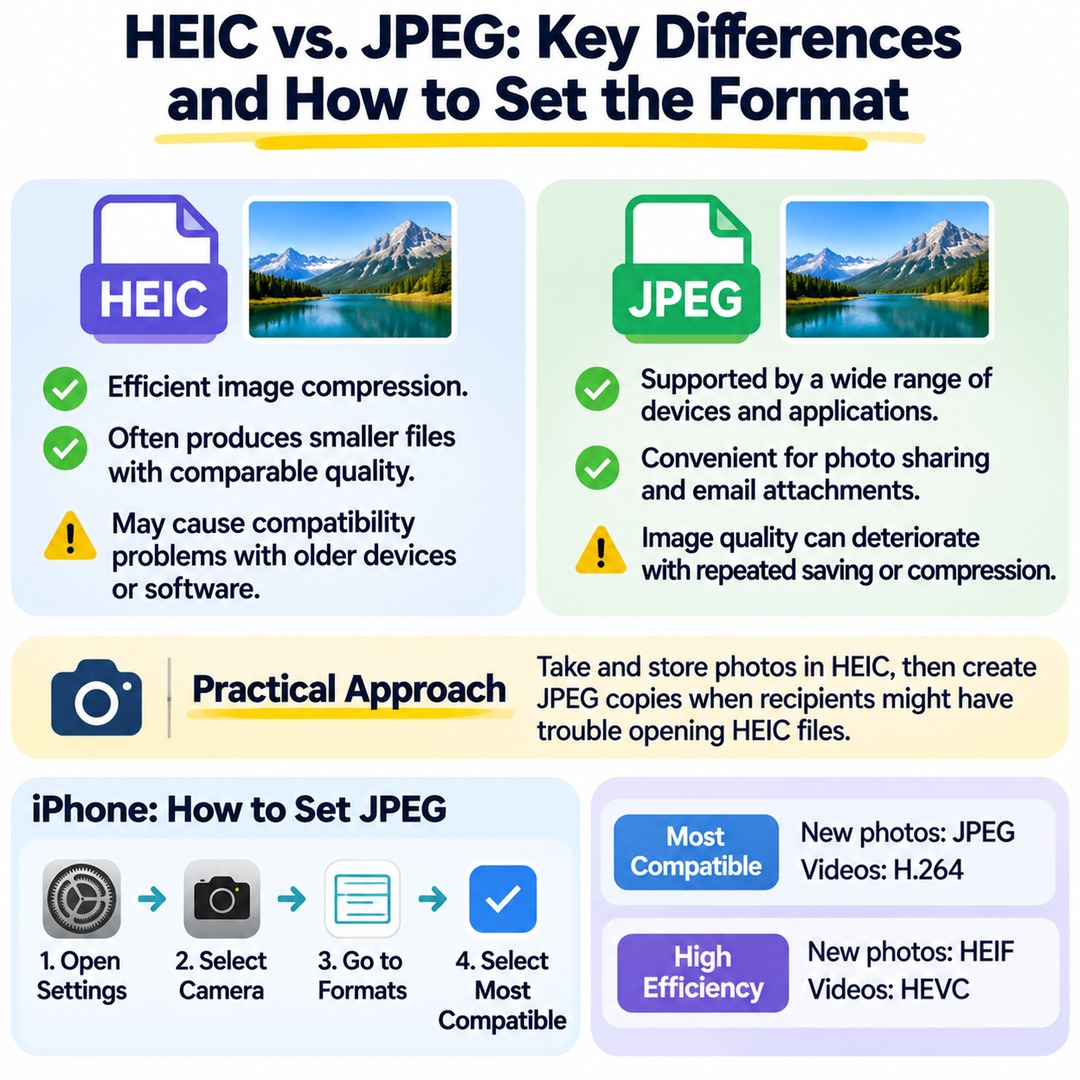
HEIC is useful for managing file sizes efficiently while maintaining image quality. JPEG, on the other hand, is supported by a wider range of operating systems and applications.
HEIC vs. JPEG
HEIC (.heic)
Offers efficient image compression.
Often produces smaller files at a comparable level of visual quality.
May cause compatibility problems with older devices or software.
JPEG (.jpg or.jpeg)
Supported by a wide range of devices and applications.
Convenient for photo sharing and email attachments.
Image quality can deteriorate with repeated saving or compression.
Neither HEIC nor JPEG is universally better. A practical approach is to take and store photos in HEIC to benefit from its efficiency, then create JPEG copies when recipients might have trouble opening HEIC files.
How to Change Your iPhone Camera Settings to Capture JPEG Photos
On an iPhone, you can choose a compatibility setting in the camera format options.
1. Open the Settings app.
2. Select Camera.
3. Go to Formats.
4. Select Most Compatible.
With this setting enabled, new photos taken afterward are saved in JPEG format. Videos use the H.264 format.
By contrast, selecting High Efficiency uses HEIF and HEVC formats.
There is an important distinction here: Most Compatible does not convert previously captured HEIC photos in bulk. It changes the format used to save photos taken in the future.
To convert photos that have already been taken into JPEG files, you need a separate export or conversion process.
How Do You Send iPhone Photos by Email?
On an iPhone, you can use the sharing feature in the Photos app or attach photos through the Mail app.
To send a photo from the Photos app:
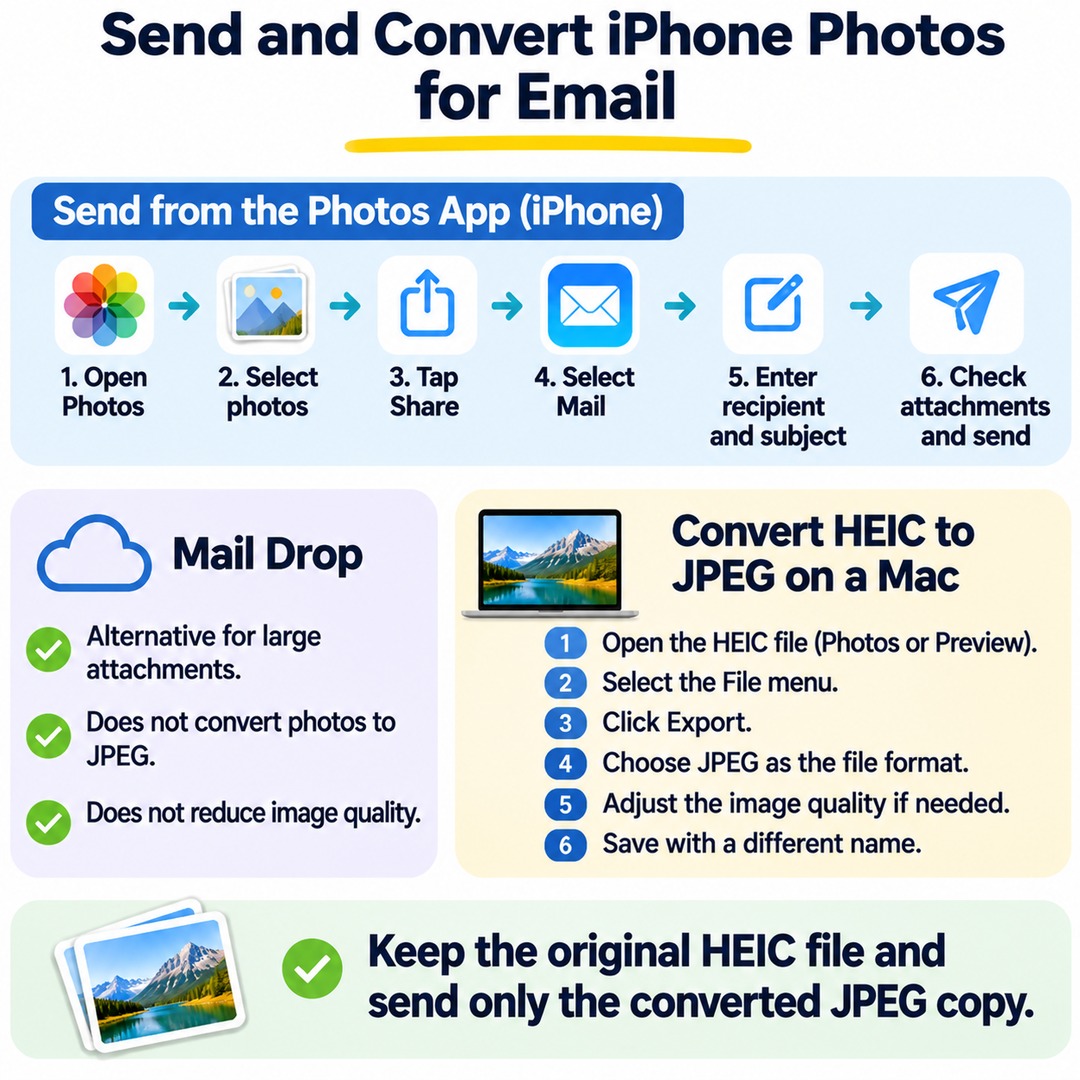
1. Open the Photos app.
2. Select the photos you want to send.
3. Tap the Share button.
4. Select Mail.
5. Enter the recipient and subject.
6. Check the attached photos and send the email.
You can also select photos from your photo library using the attachment insertion feature while composing a message in the Mail app.
If the photo files exceed the email account's attachment limit, Apple Mail may offer Mail Drop as an alternative delivery method.
Mail Drop does not convert photos into JPEG files or reduce their image quality. It is a separate method for delivering large attachments.
Therefore, if your goal is to reduce the actual size of the photo files, you need to create smaller copies specifically for sending.
How Can You Convert HEIC Photos to JPEG?
If you have access to a Mac, you can do this without installing a separate conversion application.
1. Open the HEIC file in the Photos app or Preview on your Mac.
2. Select the File menu.
3. Click Export.
4. Select JPEG as the file format.
5. Adjust the image quality if necessary.
6. Save the file using a different name from the original.
You can then attach the resulting JPEG file to your email.
It is safer to leave the original HEIC file untouched and send only the converted JPEG copy.
How Can You Manage Photo File Sizes on an Android Smartphone?
On Android devices, the location and availability of photo resizing features vary depending on the manufacturer and gallery app.
You should not assume that every Android smartphone has the same photo resizing menu.
As a general approach, follow these steps:
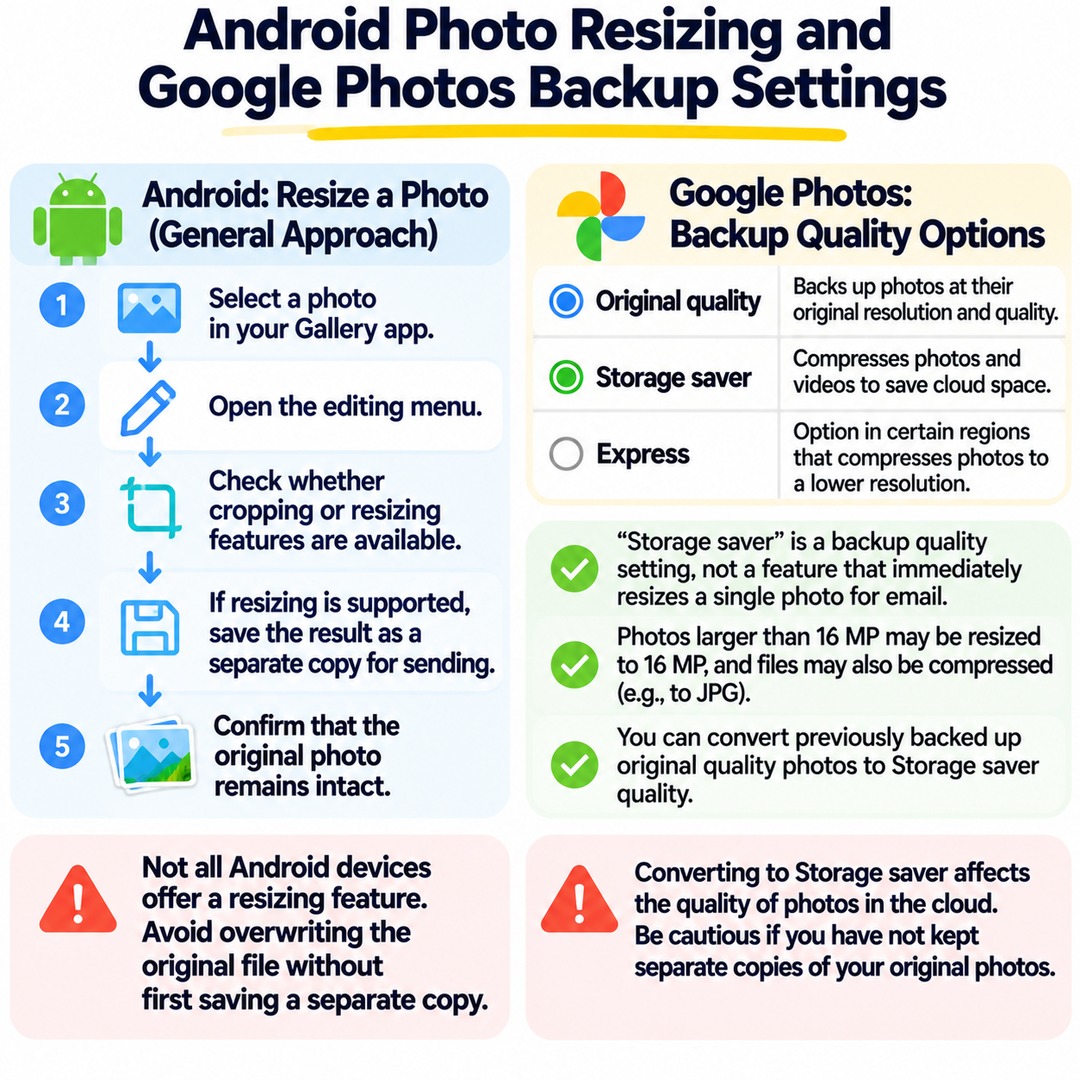
Select a photo in your Gallery app.
Open the editing menu.
Check whether cropping or resizing features are available.
If resizing is supported, save the result as a separate copy for sending.
Confirm that the original photo remains intact.
If your default gallery app does not offer a resizing feature, avoid overwriting the original file using an alternative method without first preserving a separate copy.
Is Google Photos' Storage Saver the Same as Reducing Photo Sizes for Email?
No. These are different functions.
Google Photos allows you to choose the backup quality for your photos and videos.
Original quality
Backs up photos at their original resolution and quality as captured.
Storage saver
Compresses photos and videos to save cloud storage space.
Express
An option available in certain regions that compresses photos to a lower resolution.
Google Photos' Storage saver is a quality setting applied during backup. It should not be confused with a feature that immediately resizes an individual photo selected for an email attachment.
When using Storage saver, photos larger than 16 MP may be resized to 16 MP. Image files may also be compressed into another format, such as JPG.
Google Photos also provides an option to convert previously backed-up original-quality photos to Storage saver quality. However, this operation affects the quality of photos stored in the cloud.
Therefore, be cautious about using storage recovery features if you have not kept separate copies of your original photos.
How Does Gmail's 25 MB Attachment Limit Work When Sending Photos?
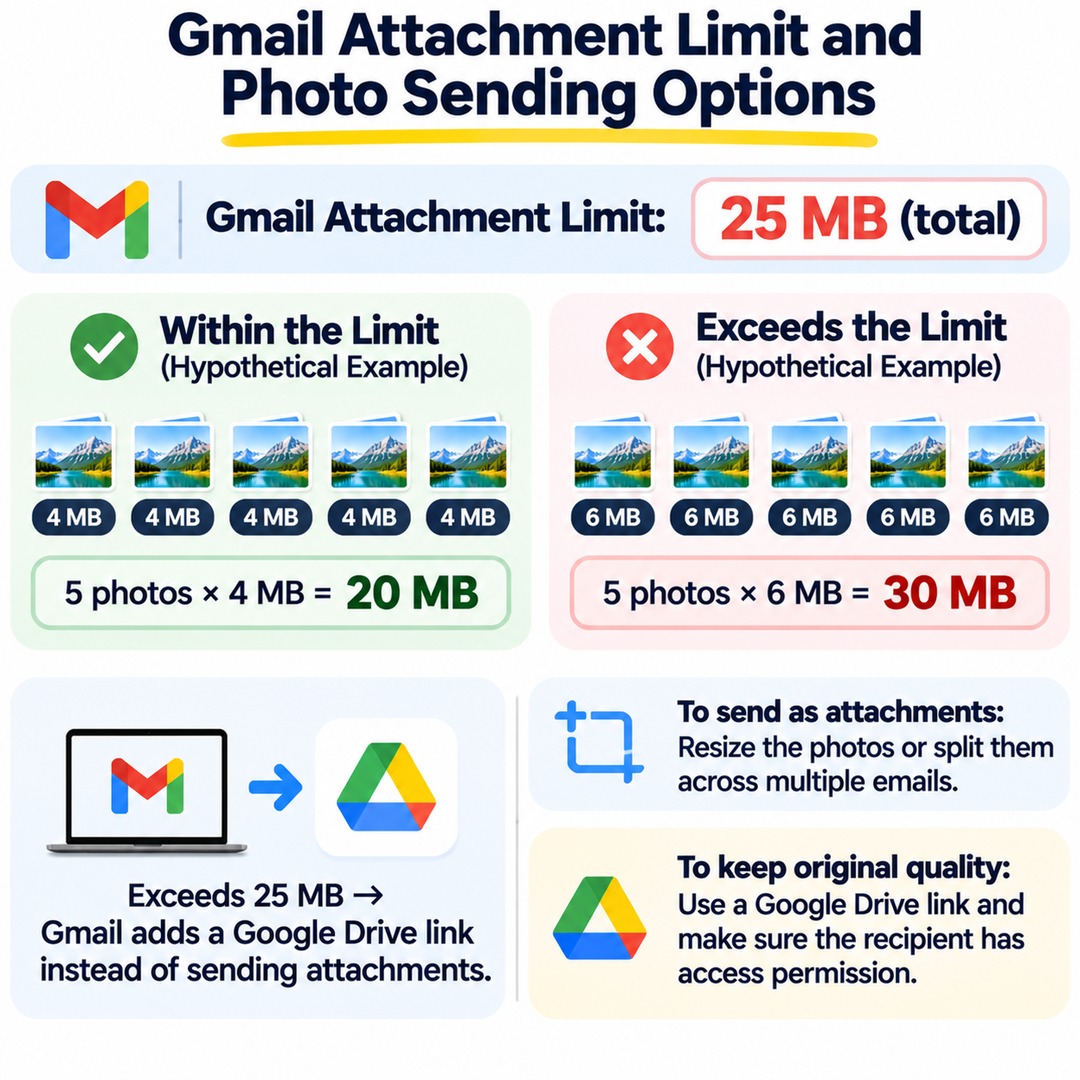
Personal Gmail accounts have a maximum total email attachment size of 25 MB.
If you attach multiple photos, you need to check the combined size of all attachments, not just the size of each individual photo.
For example, consider these calculations.
Hypothetical email attachment calculation
5 photos × 4 MB per photo
Total attachment size: 20 MB
Within the 25 MB limit
Hypothetical example exceeding the limit
5 photos × 6 MB per photo
Total attachment size: 30 MB
Exceeds the 25 MB limit
These calculations are hypothetical examples for illustration. Actual transmission sizes may differ because of email encoding and other factors.
When the total attachment size exceeds 25 MB, Gmail adds a Google Drive link to the email instead of sending the files as ordinary attachments.
If you must send the photos directly as attachments, consider resizing them or splitting them across multiple emails.
On the other hand, if the recipient needs the original photos without any quality reduction, using a Google Drive link may be more appropriate.
When sharing a link, make sure the recipient has the necessary access permissions to open the files.
How Can You Preserve Original Photos Without Losing Them?
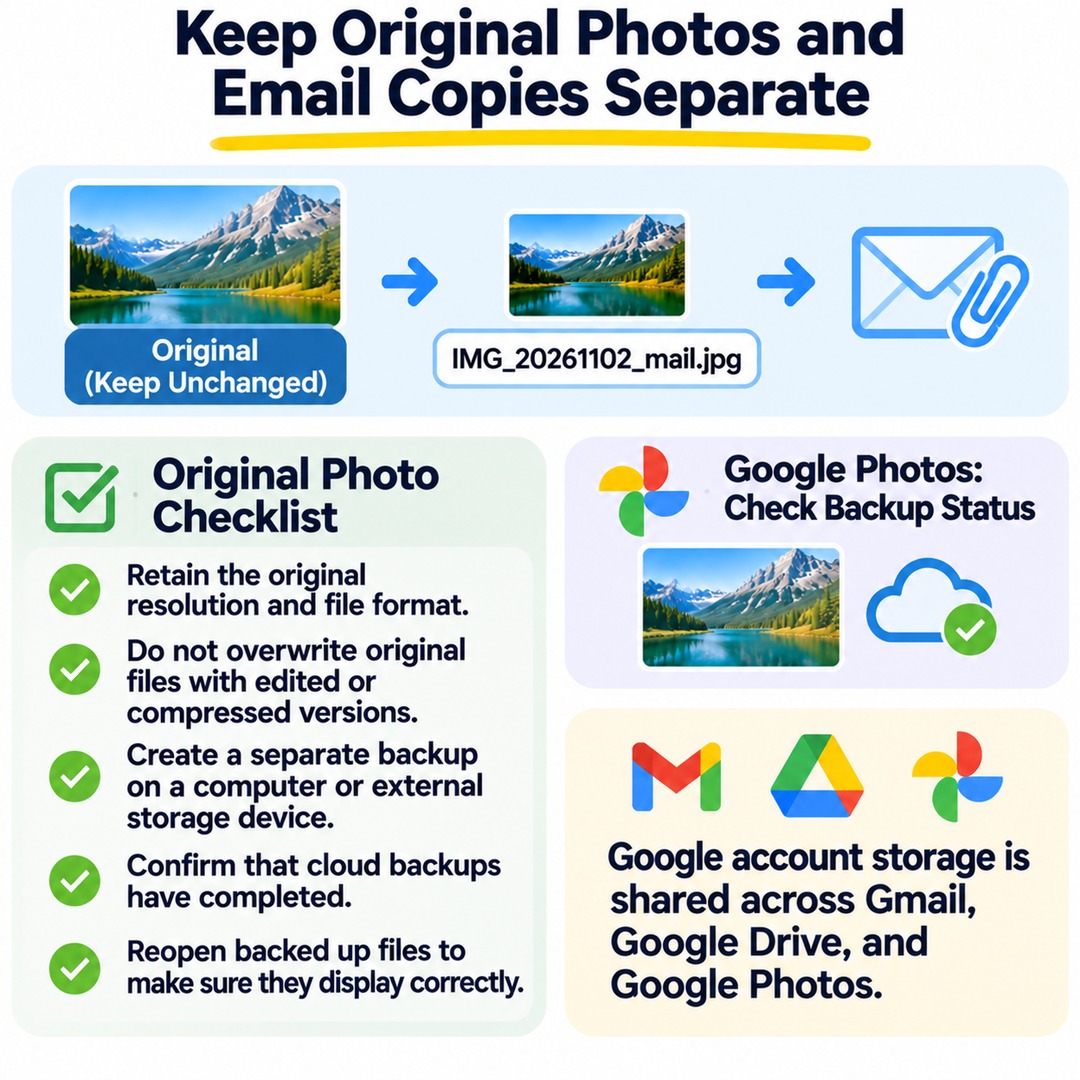
The safest approach is to manage original photos and email-ready copies as separate files.
For example, you can organize them as follows.
Photo storage
IMG_20261102.HEIC
Original
Email-ready copy
IMG_20261102_mail.jpg
Copy
Keep the original file unchanged and attach only the resized or converted copy to your email.
When preserving original photos, it is a good idea to check the following:
Retain the original resolution and file format.
Do not overwrite original files with edited or compressed versions.
Create a separate backup on a computer or external storage device.
Confirm that cloud backups have actually completed.
Reopen backed-up files to make sure they display correctly.
If you use Google Photos, you can select a photo and check its backup status. A photo that has not finished backing up should not be considered safely stored in the cloud.
Also remember that Google account storage is shared across Gmail, Google Drive, and Google Photos.
What Should You Check Before Emailing Photos?
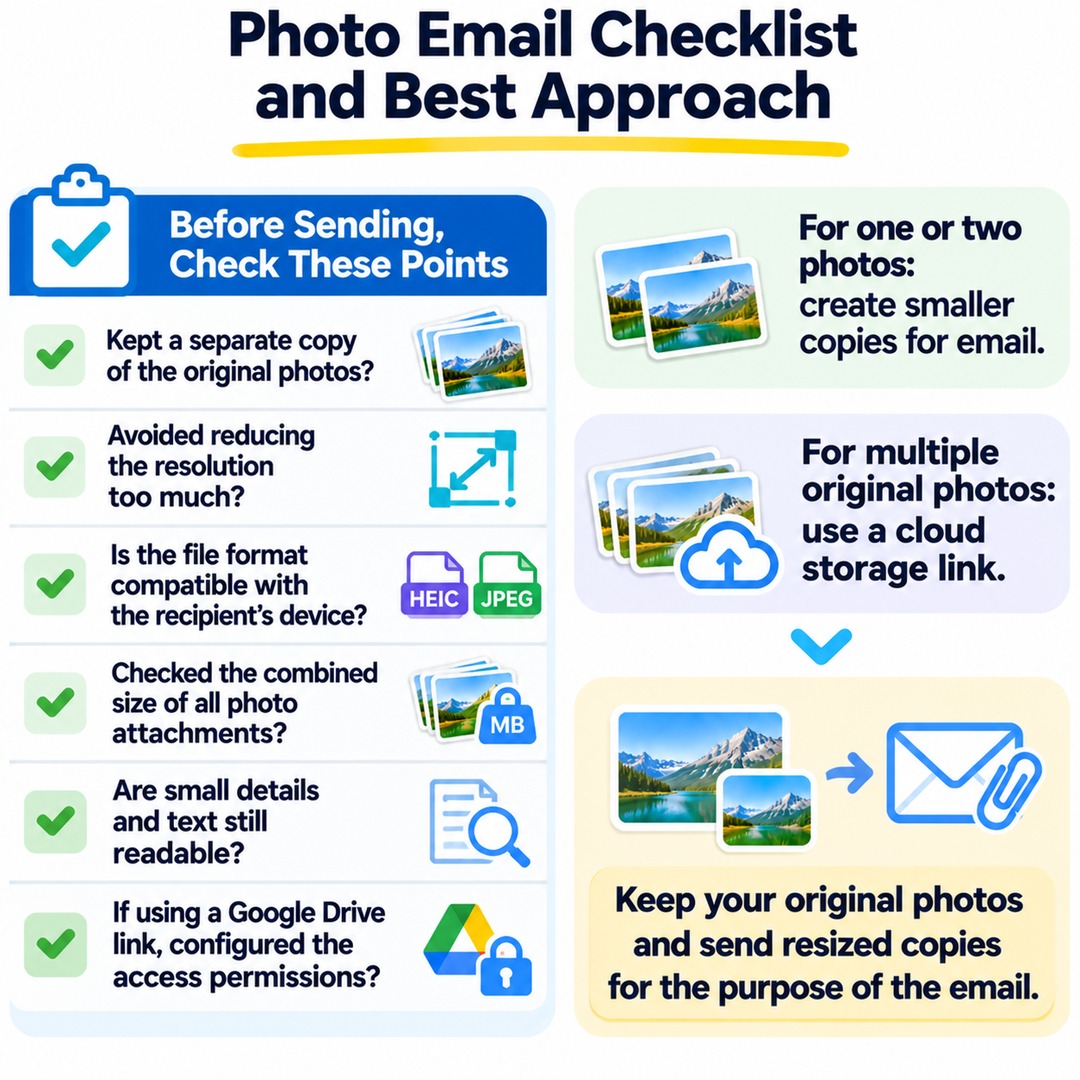
Before sending your photos, go through the following checklist:
Have you kept a separate copy of the original photos?
Have you avoided reducing the photo resolution too much?
Is the file format compatible with the recipient's device?
Have you checked the combined size of all photo attachments?
Are small details and text in documents or receipts still readable?
If you are using a Google Drive link, have you configured the access permissions correctly?
If you are sending one or two photos for ordinary viewing, creating smaller copies specifically for email is a straightforward solution. If you need to send multiple original-quality photos, using a cloud storage link is often more convenient than compressing them.
Ultimately, the best approach is to preserve your original photos and send copies resized to suit the purpose of the email. Following this simple principle helps reduce both image quality loss and the risk of losing your original files.